Set Up Your Outbound Email Signature in the Emails Tool
Objective
To personalise the signature for your outbound emails from Procore's Emails tool, you'll need to add your signature to your 'My Profile Settings' page.
Background
To personalise the signature for emails you send from Procore, you will need to add it to your 'My Profile Settings' page. The changes you make using the steps below will affect the signatures on all emails you send from tools in Procore.
Things to Consider
- Required User Permissions:
- 'Read Only' level permissions or higher on the project's Home tool.
- Additional Information:
- Your email signature will be applied to any email you send from tools in Procore.
Steps
- Log in to the Procore web application. See Log in to Procore Web.
- Click your name in the top-right corner of the programme and choose My Profile Settings.
- In the Personal tab, scroll down to the Email Signature box.
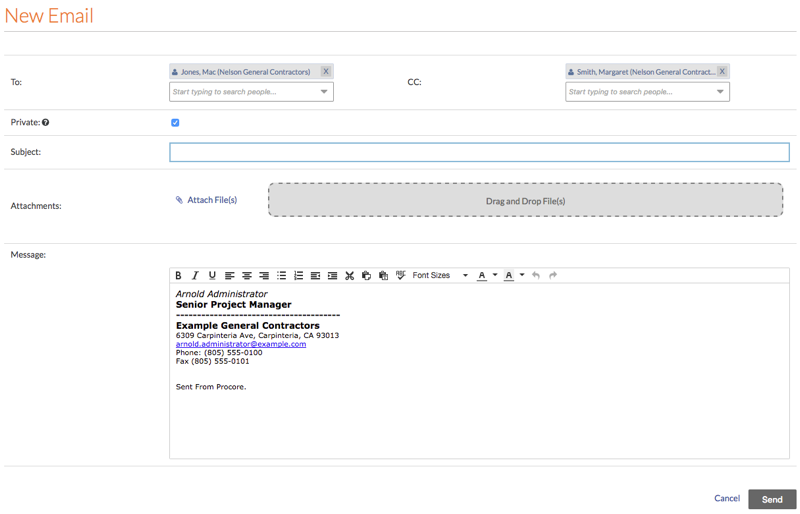
Note:- By default, the phrase 'Sent From Procore.' appears in the box. It is recommended that you leave that text in your signature as shown below, so the messages recipients reading your message will be able to quickly see that the email was sent from Procore.
- In the Email Signature box, create and format your email signature.

- Click Update.
Note: This saves your email signature. Now, when you create a new email from the Emails tool or other tools in Procore, you signature automatically appears in the new message as shown below.
