Enable or Disable ERP Direct Exports
Objective
To enable or disable the feature that allows Commitments, Commitment Variations (CVs) and Payment applications to sync to an integrated ERP system without approval by an accounting approver.
Background
In most cases, to sync an item to your ERP system, the item must first be accepted or rejected for export by an accounting approver in the Company level ERP tool. When enabled, the Direct Export feature allows you to configure your ERP integration to bypass the accounting approver step when sending Commitments, CVs and Payment applications to ERP.
If this feature was previously enabled, it can also be disabled. If disabled, items that were synced while the feature was enabled can then be managed through the Company level ERP Integrations tool by an accounting approver.
Tip
You can use the Workflows tool instead of the accounting approver step to manage the approval flow of an item that is sent to ERP. The following three (3) configuration options are available with this feature:
- Direct Export disabled (default). You can keep using your integration the same way with no changes.
- Direct Export enabled, workflows NOT applied. When enabled without applying a workflow to the approval process for a Commitment, CV, and/or Payment application, this feature simply allows these objects to be exported directly to your ERP system when clicking the 'Send to ERP' button on the item in its Project level tool. No approval in the Company level ERP integrations tool is required.
- Direct Export enabled, workflows applied. You can enable the Direct Export feature and choose to use a workflow for the ERP approval process prior to the 'Send to ERP' step, instead of approving an item for export through the Company level ERP Integrations tool. To learn about Procore's v2 Workflows tool (in Beta), including how to create workflow templates and assign them to projects, see Workflows.
Things to Consider
- Required User Permissions:
- 'Admin' on the company's ERP Integrations tool.
AND - The 'Can Push to Accounting' privilege in the Company Directory for each tool for which the feature will be enabled or disabled.
Note: To submit a request to be granted this privilege, your company's Procore Administrator must submit a request to your Procore point of contact. This privilege can only be granted to individuals by Procore.
- 'Admin' on the company's ERP Integrations tool.
- Considerations
- This feature can be enabled for one (1) or more of the following tools:
- Commitments
- Commitment Variations (CVs)
- Subcontractor Payment Applications
- This feature affects all ERP-integrated projects within a company in Procore. It cannot be configured for only some ERP-integrated projects.
- This feature can be enabled for one (1) or more of the following tools:
important - limitation
Some integrations and customer implementations include custom fields that require an entry or have limitations around the type or length of entry, for an object to successfully export. The Direct Export feature will attempt to initiate the export of such items, but in some cases clicking 'Send to ERP' will result in the item moving to the 'Ready to Export' page of the Company level ERP Integrations tool.
It is recommended that you check the 'Ready to Export' filter for such items after enabling this feature to ensure successful and timely exports.
Example:
- The Viewpoint® Vista™ Integration by Ryvit can be configured to require selection of a Compliance Group for Commitments in the Company level ERP Integrations tool prior to export. Since a Compliance Group can't be selected on the Commitment when clicking the 'Send to ERP' button prior to export, that item will not export automatically. Approval will still be required in the Company level ERP Integrations tool.
- Prerequisites
- Your ERP integration must be configured to sync items from the tool for which the setting will be enabled/disabled.
Steps
- Go to the Company level ERP Integrations tool.
- Click Configure Settings
 .
. - Under Export Settings:
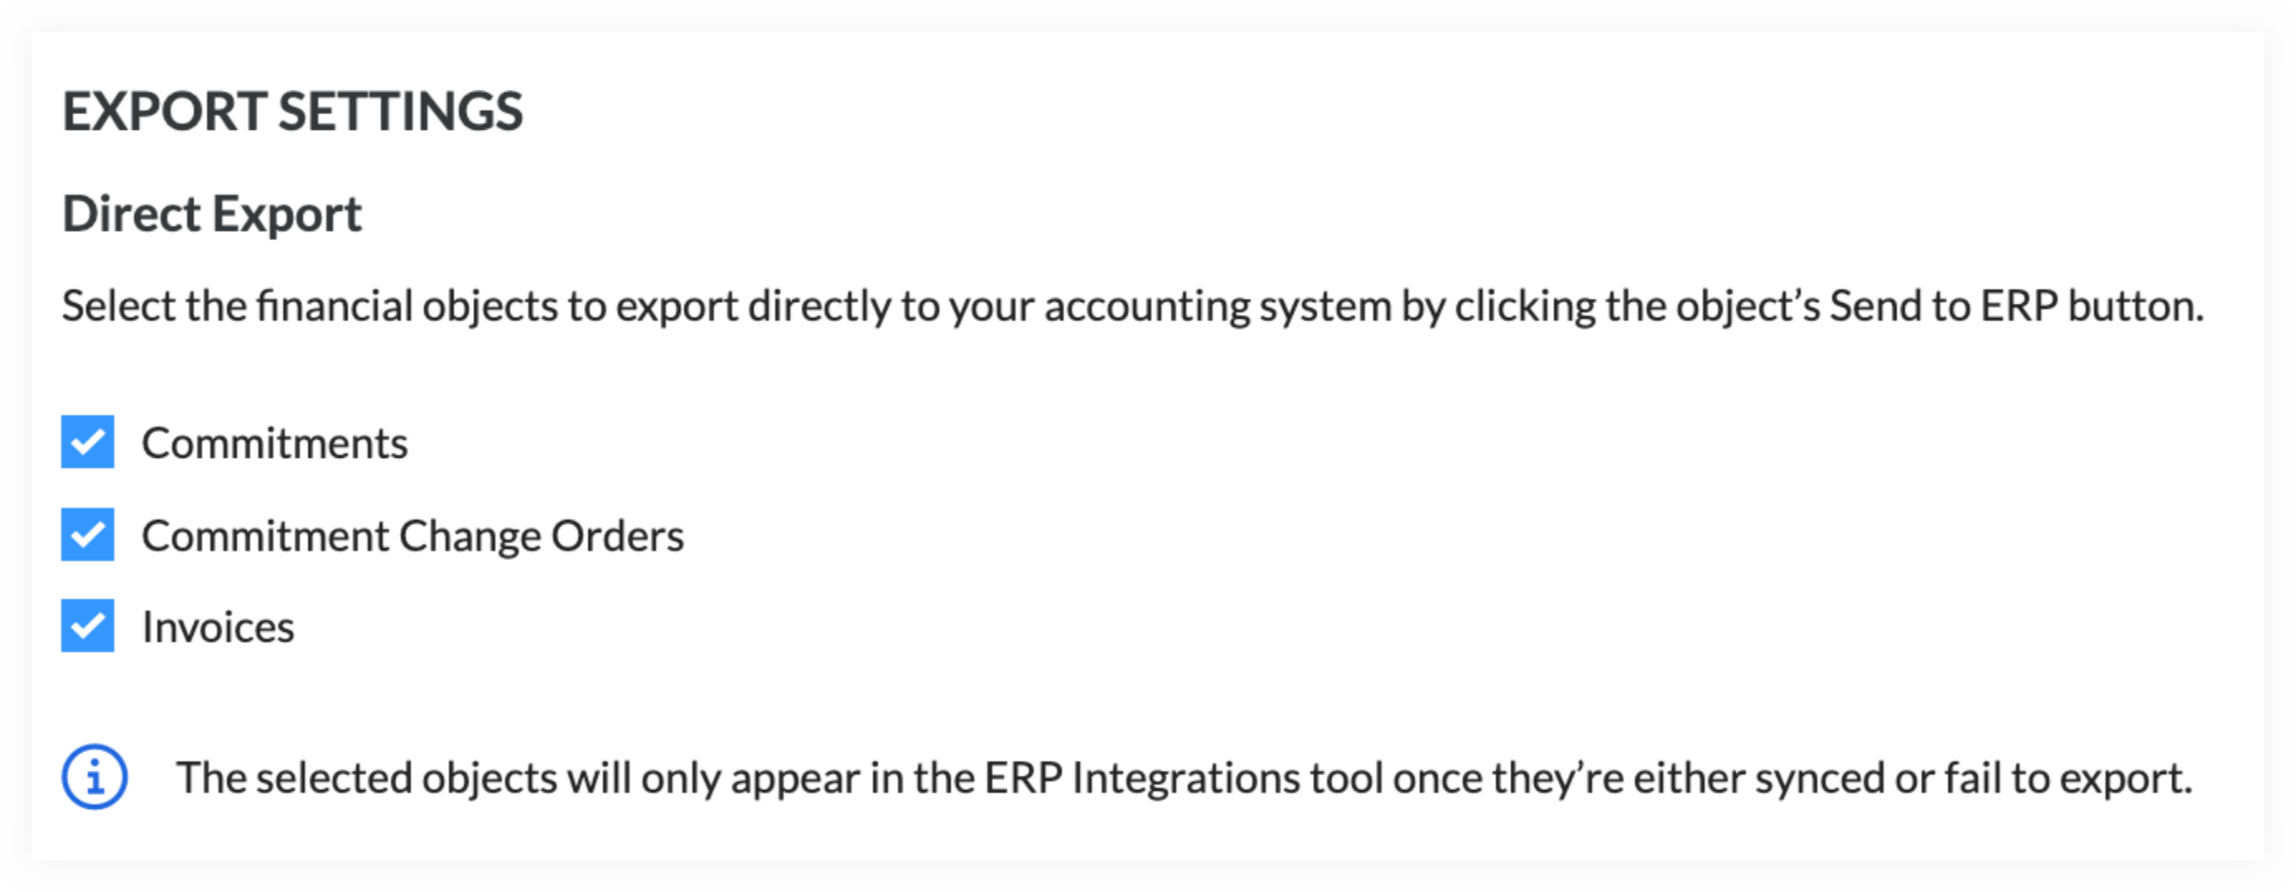
- Mark the tickbox next to the desired tool name to enable the feature for that tool.
OR - Un-mark the tickbox next to the desired tool name to disable the feature for that tool.

- Mark the tickbox next to the desired tool name to enable the feature for that tool.
- Click Update.

