Configure Access and Settings for the Conversations Tool (Beta)
Objective
To configure access and features for the Conversations tool in Procore.
Things to Consider
- Required User Permissions:
- 'Admin' level permission to the Company level Admin tool.
Video
Steps
- Navigate to the Company level Admin tool.
- Under 'Company Settings', click Conversations.
- Configure settings for your company in the sections below:
Configure Access for Conversations
- Click the toggle ON
 next to 'Turn On Conversations Beta' to enable the Conversations tool for one or more projects.
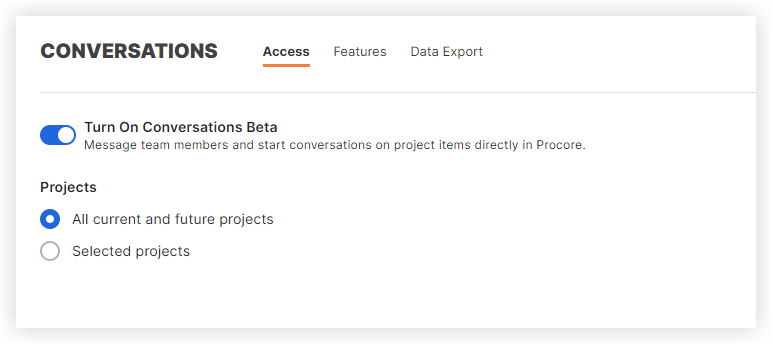
- Under 'Projects', choose whether you want to enable Conversations for all projects or selected projects:
- To enable Conversations for all current and future projects, select All Current and Future Projects.
- To select projects individually, select Selected Projects.
- Mark the tickbox next to each project you want to enable Conversations for. Use the Search bar to quickly find projects if necessary.
- If you want to select all current projects (without automatically enabling it for future projects), click the Project tickbox at the top.
- Click Save Changes.
This adds the Conversations icon to the Procore header to provide access the tool.
Configure Features for Conversations
- On the Features tab, click the toggle ON or OFF
 to configure which features you want available and for which users:
Note: These features are enabled by default.
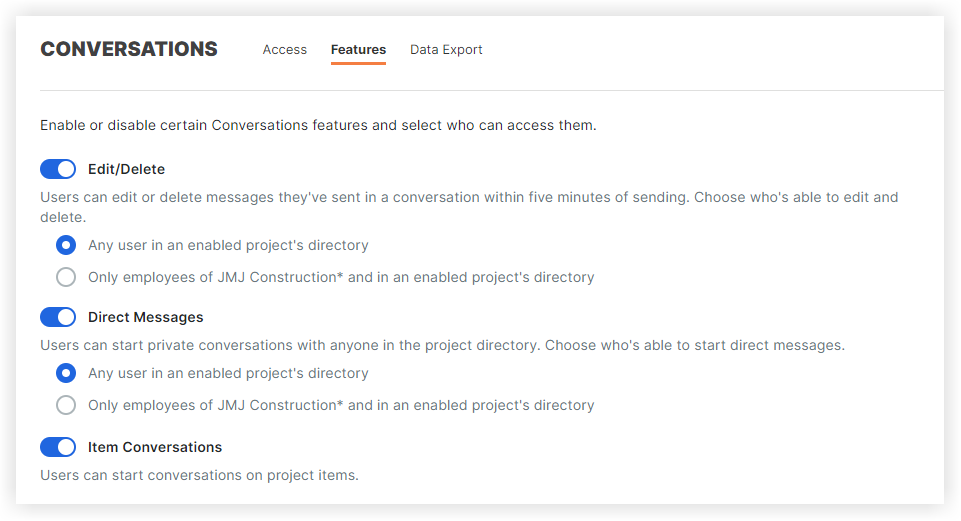
- Edit/Delete: If enabled, an individual can edit or delete their own message within five (5) minutes of sending it. Edited messages have 'edited' text underneath them and deleted messages show who deleted the message and when.
- If enabled, select one of the following options:
- Any user in the Project level Directory
- Only internal employees of [Company Name]
- If enabled, select one of the following options:
- Direct Messages: This feature allows private messages to be sent from one individual to another. Direct Messages can be sent to multiple individuals.
- If enabled, select one of the following options to allow individuals to start private conversations:
- Any user in an enabled Project level Directory
- Only internal employees of [Company Name]
- If enabled, select one of the following options to allow individuals to start private conversations:
- Item Conversations: If enabled, individuals with access to the item can start conversations on project items.
- Edit/Delete: If enabled, an individual can edit or delete their own message within five (5) minutes of sending it. Edited messages have 'edited' text underneath them and deleted messages show who deleted the message and when.
- In the 'Group Conversations Permissions' section, select the type of user that can create and manage groups for group conversations in the Conversations tool:
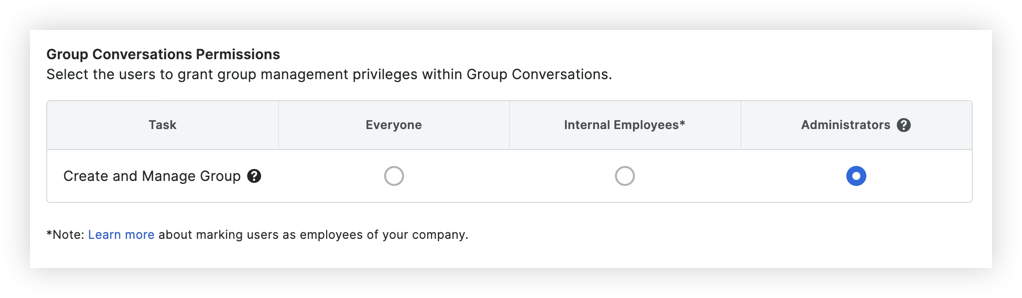
- Everyone: Any user in the Project level Directory.
- Internal Employees: Any user marked as an employee of the company. See How do I add someone as an employee of my company?
- Administrators: Only users with 'Admin' permission to the Project or Company level Directory tool.
Note: This is the default setting.
- Click Save Changes.