Send a MCV to ERP Integrations for Accounting Acceptance
Objective
To send a Main Contract Variation (MCV) to the ERP Integrations tool for acceptance for export to an integrated ERP system by an accounting approver.
Background
If you have a MCV in Procore that does NOT exist in your ERP, you can send that data to your ERP. First, send the MCV to your company's ERP Integrations tool. After the data is successfully sent to the ERP Integrations tool, it can then be accepted or rejected for export to your ERP by your company's accounting approver.
Things to Consider
- Required User Permission:
- 'Admin' permission on the project's Main Contracts Tool.
- Additional Information:
- The Main Contract Variations tab of the ERP Integrations tool must be enabled.
- The Main Contract Variation (MCV) you want to export must be in an 'Approved' status.
- Vertical and Horizontal Markups are supported.
- Not all ERP integrations support syncing MCVs. Additional considerations, limitations or requirements may apply depending on the ERP system your account is integrated with. See Things to Know about your ERP Integration for details.
Steps
- Navigate to the project's Main Contracts tool.
- Click the Variations tab.
- Locate the MCV that you want to export the Main Contract Variations list.
- Choose from these options:
- If the MCV is in the Approved status, click View.
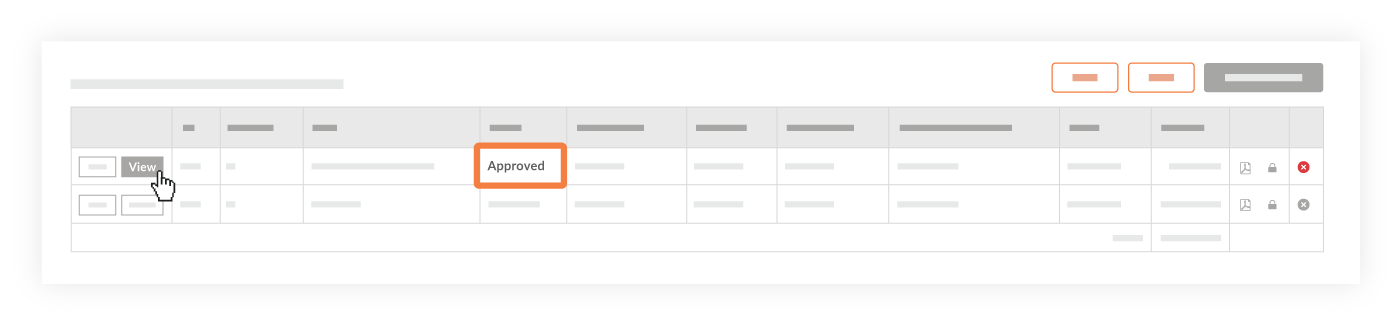
OR - If the MCV is in any other status, click Edit. Then change the status to Approved and click Save at the bottom on the page.
Note: You must have 'Admin' permission on the Main Contracts tool or be a 'Designated Approver' on the MCV to change the status of a MCV to Approved.

- If the MCV is in the Approved status, click View.
- If the MCV is in the 'Approved' status, click Send to ERP.
Note: If this button is greyed out and unavailable, check to see if the MCV is in the 'Approved' status. Hover your mouse cursor over the tooltip for more information.

The system sends the MCV to the Company level ERP Integrations tool and the icon at the top of the page changes to BLUE. See What do the ERP icons mean?
Tip
If you send a MCV to the ERP Integrations tool and discover you need to make changes to it, follow the steps below before an accounting approver accepts the MCV for export to your ERP.