

About the modernised variations experience
Background
The Variations tool in Procore has been updated with a modern interface to improve how project variations are managed, filtered and tracked. This update offers a streamlined experience for reviewing financial data, managing configuration options and performing bulk or row-level operations.
Things to Consider
-
Access to this new experience depends on whether your project is configured as a first-tier, two-tier or three-tier system.
-
Terminology variations:
-
In a multi-tier project, the main list displays potential variations (PVs), which represent the lowest tier of variations.
-
In a first-tier or single-tier project, you will see a list of standard variations (or variation packages).
-
-
The Send to ERP action is only available for ERP-integrated variations that are in the Approved status.
Note: Draft variations cannot be sent to ERP. -
You cannot delete a variation if it is currently included in a variation request or a variation package. It must be unlinked first.
Prerequisites
-
You must be enrolled in the new variations experience to be automatically redirected to the modernised interface.
-
Required User Permissions:
-
'Read Only' level permissions or higher to view variations
-
'admin' level permissions to edit, delete or manage ERP integrations.
-
Steps
Navigate the Variations tool
-
Navigate to the project's Variations tool.
Note: By default, you will land on the Main contract variations tab, but you can switch to the Commitment variations tab if needed.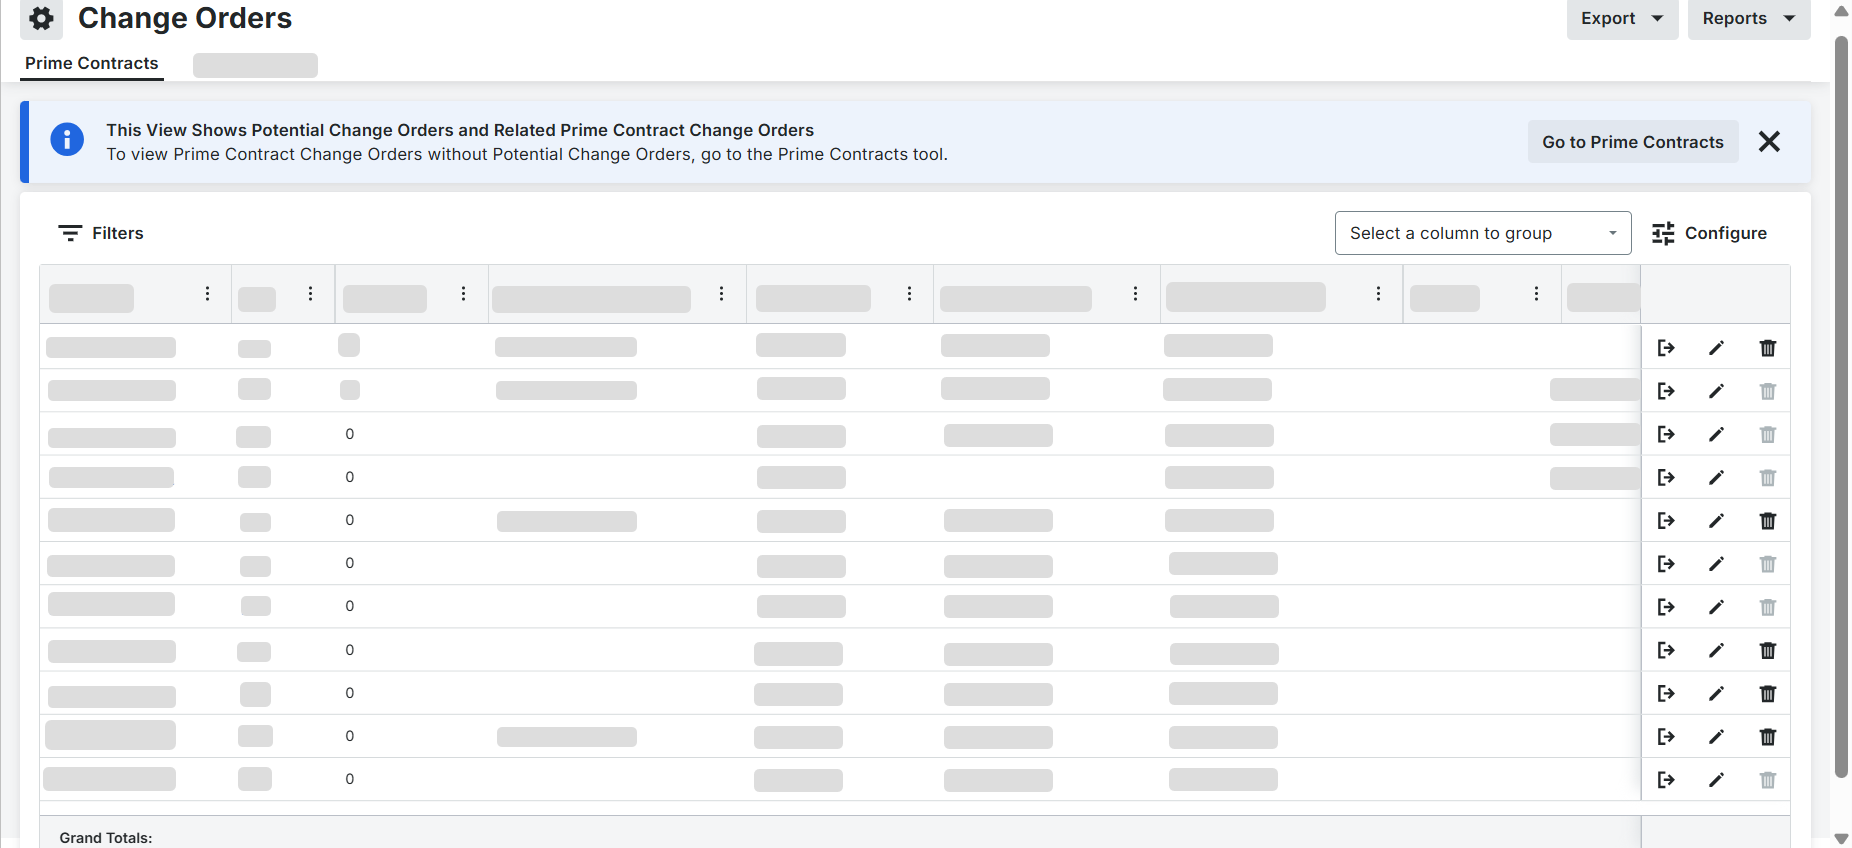
-
Review the banner at the top of the page to verify which tier of variations you are viewing.
Export the variations list to PDF
-
Click Export.
-
Click PDF.
-
Wait for the system to generate the file. The PDF will automatically open in a new window with a comprehensive list of everything currently visible in your table view.
Filter and configure the list view
-
Click the Filters menu to filter your item by criteria such as status. For example: 'Approved' or 'draft' or executed status such as 'Yes' or 'No'.
-
Click Apply to update the list view.
-
Click the configuration panel icon to custom your table columns.
-
Mark or clear the tickboxes next to column names such as workflows, enterprise resource planning status or executed to show or hide them.
-
Optional: Click a column header to sort your data in ascending or descending order.
Create a variation from change event line items
-
Navigate to the project's Change Events tool.
-
Mark the tickboxes next to the line items you want to use.
-
Click the bulk actions menu and select either a commitment potential variation or a main contract PV.
-
Select the associated contract.
Note: Procore automatically prefills the title, change reason, description, attachments and Bill of Quantities (BOQ) line items from the change event. -
Complete the available fields as applicable and as required.
-
Choose one of the following creation options at the bottom of the page:
-
Create: Persists the prefilled data and redirects you to the variation.
-
Create & complete with DocuSign: Initiates the DocuSign signing workflow.
-
Create & enter email view: Opens the email composition window immediately after creation.
-
Manage financial markups
-
Open the variation and click the Bill of Quantities tab.
-
Click the Financial markups tab.
-
Add your desired horizontal or vertical markups and click Save.
-
Navigate back to the Bill of Quantities tab to view the updated rows reflecting your horizontal markups on individual line items and vertical markups in the grand total.
Important: Before attempting to send a variation to your integrated ERP system, click Edit on the general information card and change the status from Draft to Approved. Once saved, the Send to ERP button will become available in your actions panel.