Add Filters to the Variations Tab on a Client Contract
Limited Release
 The Client Contracts tool is available as a limited release for Procore customers in the United States who have implemented the Procore for Speciality Contractors point-of-view dictionary. To learn more, see What tool names and terms are different in Procore for main contractors, owners and speciality contractors?
Objective
To filter data in the table in the 'Variations' tab of a client contract.
Background
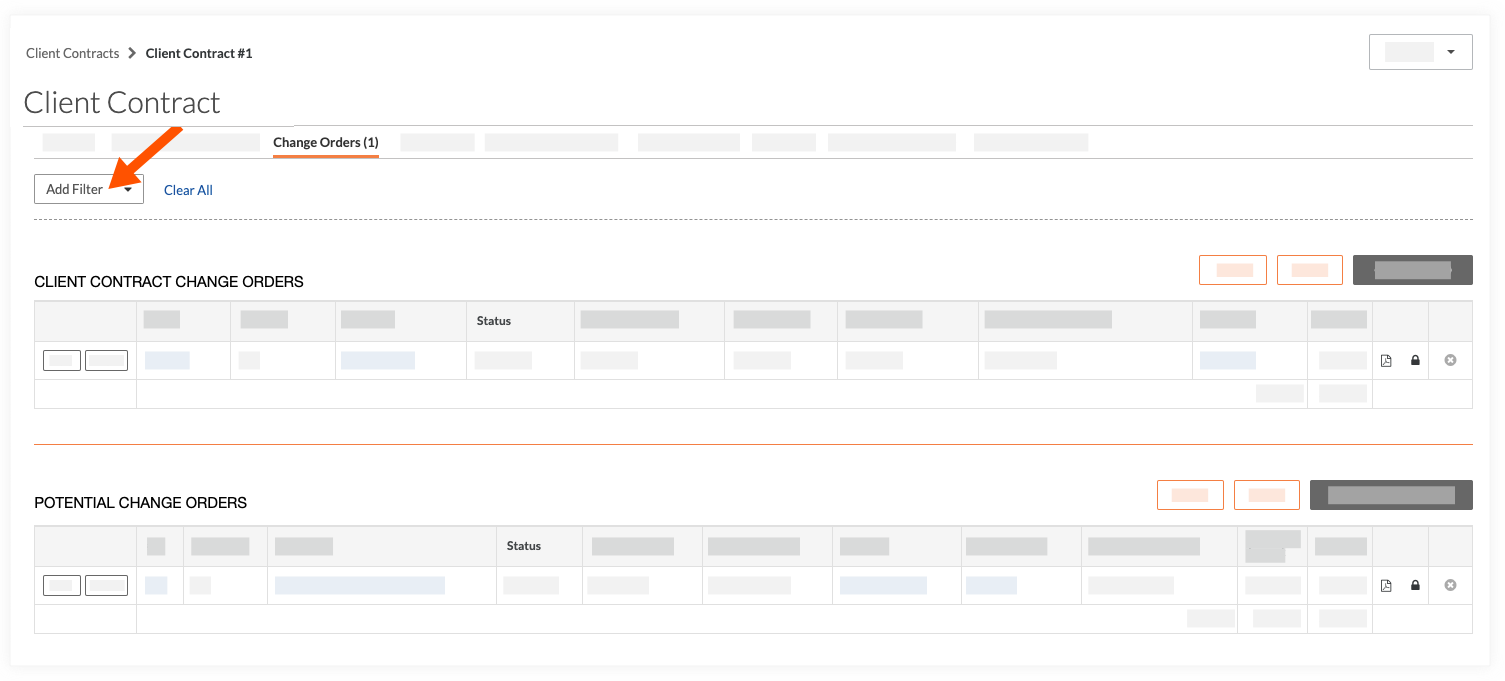
To focus on the data you want to see, add filters to limit the data in the table.
Things to Consider
- Required User Permissions:
- Read Only' level permissions or higher on the project's Client Contracts tool.
Prerequisites
Steps
- Navigate to the project's Client Contracts tool.
- Locate the client contract in the list. Then click its Number link.
- Click the client contract's Variations tab.
- Select one (1) or more options from the Add Filters drop-down list:
- Status
View variations by whether or not the variation has been approved, rejected, in review, revised or still set as a draft. To learn more, see What are the default statuses for variations in Procore? - Executed
View variations by whether or not the variation has been executed to completion or not. - Change Reason
View variations by the listed reason for creating the variation. To learn how to configure reasons, see Set the Default Change Management Configurations. - Change Type
View variations by the variation type. To learn how to configure types, see Set the Default Change Management Configurations.Notes
- If no items match the selected filter, a message appears in the body of the table.
- Some filters only apply to a CCV, VR or PV. A banner at the top of the page informs you when a filter does not apply to an item.
- Status
- Clear filter settings as follows:
- To clear all settings, click Clear All.
OR - To clear individual settings, click the secondary filter drop-down and remove the tick(s) from the individual option(s).
- To clear all settings, click Clear All.