Add Financial Markup to Main Contract Variations
Objective
To add financial markup to a variation.
Background
In Procore, the term financial markup is used to refer to an increase that is applied to the cost of a product or service in order to arrive at its final cost. You can set two (2) types of markup on variation line items.
- Horizontal Markup. A horizontal markup calculates the markup amount on an individual line item.
- Vertical Markup. A vertical markup calculates the markup amount as a subtotal on all of the line items on a variation.
In addition, you can associate your financial markup settings to cost codes, categories and sub-jobs. This ensures that the financial markup on your project's variations is reflected accurately on your project's budget.
Things to Consider
- Required User Permissions:
- To add financial markup, 'Admin' level permissions on the project's Main Contracts tool.
- To view financial markup on the variation's Bill of Quantities (BOQ), 'Standard' level permission on both the project's Variations and Main Contracts tools.
- Additional Information:
- If you do NOT select a cost code or cost type for the financial markup to map to, it will appear on the project's budget as:
- Budget Code = None
- If you do NOT select a cost code or cost type for the financial markup to map to, it will appear on the project's budget as:
- For companies using the
 ERP Integrations tool: Show/Hide
- Some ERP integrations do NOT support the sync of horizontal markups, vertical markups or both. See Things to Know About your ERP Integration for details.
Steps
- Navigate to the project's Main Contracts tool.
- Locate the main contract to work with. Then click its Number link.
- Click Financial Markup.
Note
This tab is only available if it has been enabled in the appropriate tool's Advanced Settings tab. - Under Financial Markup Settings, you have these options:
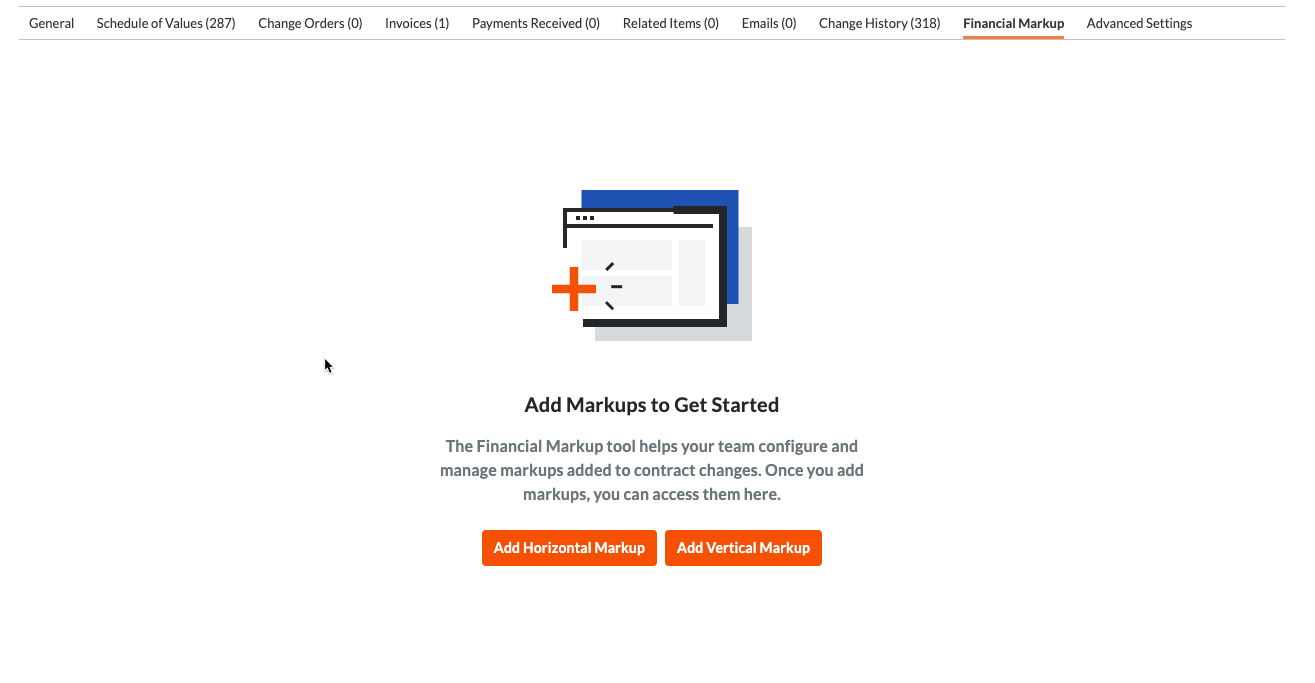
- New Horizontal Markup. Click this button to display the markup in the same row as the line items.
- New Vertical Markup. Click this button to display the markup below the line items.
This opens a page when you can then create your markup.
Notes
- To learn about the differences between markup types, see What is the difference between horizontal and vertical financial markup?
- You can apply financial markup settings on a per-variation basis.
- Enter information in the Markup List as follows:
- Markup Name. Enter a name for the financial markup.
- Maps To. Select the budget code that the markup percentage will be applied to on your project's budget.
- Markup Percentage. Enter the percentage for the markup.
- Calculation Type. Select the calculation type for the financial markup you are creating.
- Basic Calculation. Percentage is multiplied by the line items that meet the application criteria.
- Compounds all Above. Percentage is multiplied by the line items that meet the application criteria and all the markups above in the markup table.
- Selective Compounding. Percentage is multiplied by the line items that meet the application criteria and any individually selected markups. Once you choose 'Selective Compounding', you will select which of the existing financial markups to include in the calculation.
- Iterative Calculation (Margin). Percentage is multiplied by the line item total, including all markups.
- Application Criteria. These conditions determine how the markup will apply to your variations and change events.
- Apply to all line items. Financial markup will apply to each line item on a Main Contract Variation.
- Apply to specific line items. Financial markup will apply only to specific line items on a Main Contract Variation or Potential Variation. Markup estimates on change events will also only apply to the selected line items. You will be given the following options to determine which line items the markup will apply.
- Segment. Choose between 'Cost Code' or 'Cost Type'.
- Conditional Logic. Choose between 'Includes' or 'Excludes'
- Values. If 'Cost Code' is selected, click Select Values to choose which cost codes will apply towards the financial markup. If 'Cost Type' is selected, choose one or more cost types from the drop-down menu.
- Click And to add additional application conditions.
- For companies using the ERP Integrations tool:
- Vertical markups must be mapped to a main contract item synced with your partner ERP.
Important
If you create a vertical markup for a Main Contract Variation (MCV) that is designed to add a new line item to your ERP-synced contract, the markup will automatically link to the original contract line item. To apply a markup that will be included under the new contract line item created by the MCV, you must use a horizontal markup instead. - ERP Main Contract Item. Select the desired Bill of Quantities (BOQ) line item from the project’s Main Contract. This ensures that the estimated value (the BOQ value without vertical markup) and the revenue value (the BOQ value with vertical markup) are synced to the line item that you specify in the integrated ERP system.
Notes
This field is only visible when:- Your company account has enabled the ERP Integrations tool.
- The ERP Integrations tool is configured to use either the Integration by Ryvit or Sage 300 CRE®.
- You are creating vertical markup on a main contract variation.
- Export Markup to Estimate. Select this tickbox to enable the ability to sync financial markup on a main contract to the cost estimate in ERP. This tickbox is only available to customers with the Sage 300 CRE® integration, Integration by Procore with Viewpoint® Spectrum® or Integration by Ryvit with Viewpoint® Vista™ .
- Vertical markups must be mapped to a main contract item synced with your partner ERP.
- Click Save.