Set Up a Contract Room from a Tender Room in Portfolio Financials
Objective
To set up a Contract Room from a Tender Room in Portfolio Financials.
Background
After you have selected the tenderer you want to award a contract to, you will be brought to the contract setup page. On this page, you will setup a digital version of your contract with your vendor. After setup is completed, the Tender Room is converted to a Contract Room.
Things to Consider
- Required User Permissions:
- 'Limited' access to the project or higher.
Note: Users with 'Limited' access must be on the Tender Room Team for the project.
- 'Limited' access to the project or higher.
- Additional Information:
- The Contract Setup page is where you set up the contract's bill of quantities to reflect that of the signed contract. You will still need to acquire a signed contract outside of Procore.
Video
Steps
Setting up a Contract Room is a multi-step process. Click a link to jump to a section of this article:
- Enter Contract Overview Information
- Confirm Bill of Quantities
- Add Documents
- Review and Finalise the Contract
- Share the Contract with your Vendor
Step 1: Enter Contract Overview Information
- Review and fill out information in the Contract Overview section as appropriate:
- Total Contract Value: The total of the contract value.
- Cost Breakdown: Cost Breakdown is enabled by default if your tender form contained multiple line items. If the toggle is turned to the ON position, you will be able to break down the contract by line item or leave it as a lump sum.
- Reminder: If a date is selected, Procore will automatically generate an email notification to your vendor on the chosen date reminding them to submit their payment applications and variations.
- To enable reminder emails, click the Reminder drop-down menu and select a day.
- Retention: You can choose to enable or disable retention for this contract. Retention is disabled by default.
- To enable retention and set a retention percentage:
- Click the toggle next to Retention to the ON position.
- The default percent for retention is 10%. If you want to enter a different percentage, click into the percentage field and enter a new value.
- To enable retention and set a retention percentage:
- Vendor: The name of the vendor you have awarded the tender to.
- Contract Date: The date of the signed contract.
- To enter a contract date, click the field and select a date from the calendar.
Step 2: Confirm Bill of Quantities
The Bill of Quantities can be modified to reflect any changes that occurred during the contracting process. This is also the point at which you would add your alternates into your contract.
Note: If you tender out this cost item in Portfolio Financials, the Bill of Quantities will be populated with the line items from the most recent tender you selected.
The following actions are available:
To add a line item:
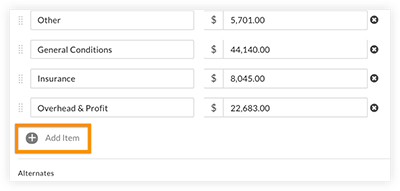
- Click + Add Item at the bottom of the Bill of Quantities section.
Note: A new line item will appear. - Enter a Label for the new line item.
- Enter a Cost for the new line item.
- Click out of the field to save your changes.
To edit a line item:
- Click into the Label or Cost field of the line item.
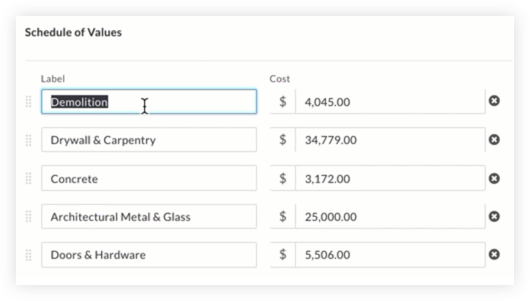
- Enter a new label or cost.
- Click out of the field to save your changes.
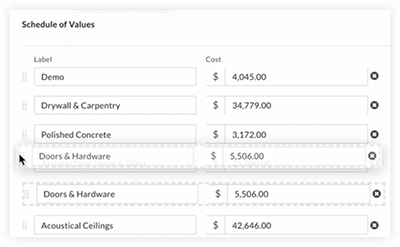
To rearrange line items:
- Hover your mouse over the grip
 icon next to the line item.
 - Click and drag the line item to move it to a new location.
To remove a line item:
- Click the x icon next to the line item you want to remove.
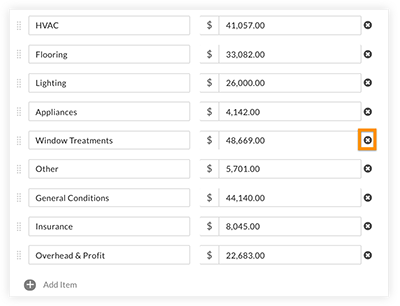
Note: Any removed line items are shown at the bottom of the page under 'Removed Tender Items', where they can be recovered if needed.
To restore a removed line item:
- Scroll to the 'Removed Tender Items' section of the page.
- Click on a removed line item to restore it to the Bill of Quantities.
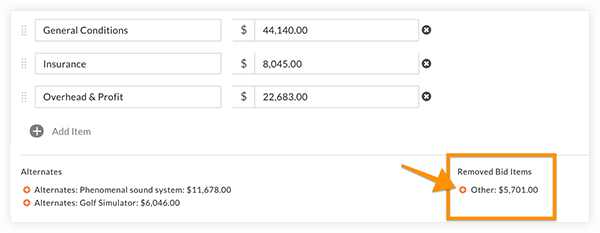
To add an alternate from the tender:
- Scroll to the 'Alternates' section.
- Click an alternate to add it to the Bill of Quantities.
Note: Alternates can be removed by clicking the x icon next to the line item or by clearing the tickbox in the 'Alternates' section.
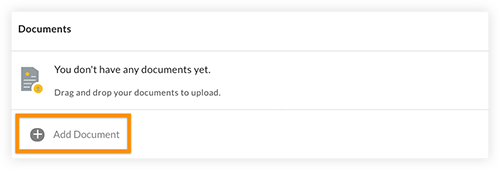
Step 3: Add Documents
Tip
We recommend that you attach a signed digital copy of your contract with your vendor here. You can attach any additional documentation as well.
The following actions are available:
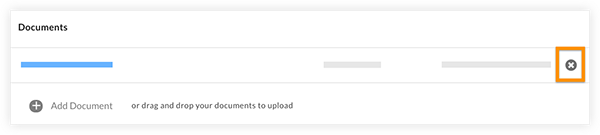
To attach a document to the contract:
- In the 'Documents' section, drag and drop files to upload or click Add Document.
Step 4: Review and Finalise the Contract
Before you continue to the share contract step, it is recommended that you review the contract details and bill of quantities and make any necessary changes. When you are ready to continue to the share contract step:
- Click Continue to open the newly created Contract Room.
Step 5: Share the Contract with your Vendor
After your contract is set up, you will be able to share access to your Contract Room. This will allow your vendor to submit payment applications and variations. Access is given on an individual basis. This means that the contract will need to be shared with each individual contact at your vendor company.
Important
Added contacts will be able to see the contract and submit variations and payment applications through Procore. If you do NOT add contacts for your vendor, they will not be able to submit payment applications or variations.
Follow the steps in the sections below:
To select vendor contacts:
Note: Added contacts will be able to see the contract and submit variations and payment applications through Procore.
- Mark the tickbox next to a contact's name in the confirmation window to select them.
Note: The contacts who appear here are all of the contacts at that vendor, including those who were invited during the tendering process. If you do not see the contact that you are looking for, you can manually add them. - Optional: To add a new vendor contact to share a contract with:
- Click + Invite more contacts from [Vendor Name].
- Enter the contact's First Name, Last Name and Email Address.
- Click Save.
Note: Any contacts you add in this way will be added to the list of contacts associated with this vendor.
To personalise the message and notify losing tenderers:
- Optional: Personalise the default message that will be sent to your winning tenderer by clicking into the text box and editing the message.
- Mark or clear the tickbox next to Notify Losing Tenderers, depending on whether you want a pre-formatted rejection email sent to the tenderers who were not awarded a contract.
Note: This option is enabled by default and the message cannot be edited.
To share the contract with your vendor:
- When you are ready to share the contract with your vendor, click Share.
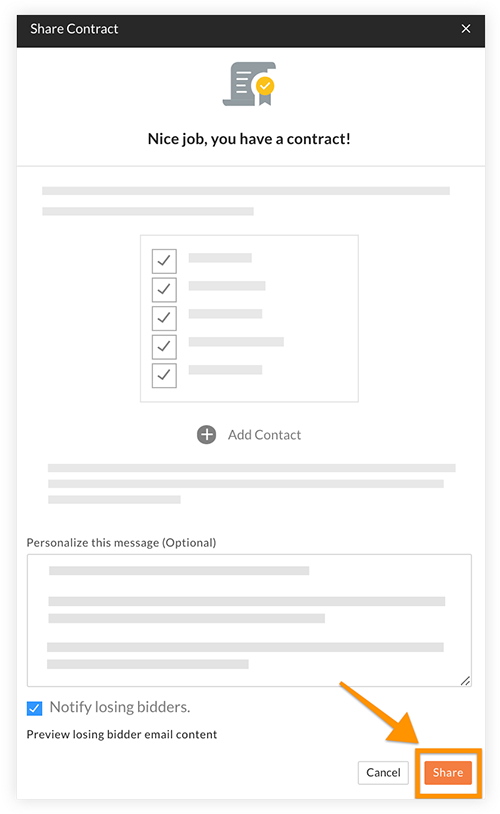
This will send the email notification to the awarded tenderer and to the losing tenderers if you chose to notify them.