Search, Sort and Filter the Workforce Requests List
Objective
To search, sort and filter the workforce Requests List.
Background
The Requests List provides a list of all open workforce requests that have been submitted. You can search, sort and filter the list to find the information you need.
Things to Consider
- Required User Permissions:
- 'Read Only' level permissions or higher on the Workforce Planning tool and 'Admin' level permissions within the Workforce Planning tool. See Create Permissions Templates for Workforce Planning.
OR
'Read Only' level permissions or higher on the Workforce Planning tool with 'View Requests' granular permissions within the Workforce Planning tool. See Create Permissions Templates for Workforce Planning.
- 'Read Only' level permissions or higher on the Workforce Planning tool and 'Admin' level permissions within the Workforce Planning tool. See Create Permissions Templates for Workforce Planning.
- Additional Information:
- To filter on a custom field, the Enable Use as Filter tickbox must be marked in the custom field's configuration. See Configure Custom Fields for Workforce Planning.
- When filtering Tags, you can apply AND logic or OR logic.
Prerequisites
Steps
You can select any one of the options below to locate workforce requests.
Note: These steps can be completed in any order.
Search Workforce Requests
Complete the steps below to search for a workforce request.
- Navigate to the Company level Workforce Planning tool.
- Click Requests and select Requests List.
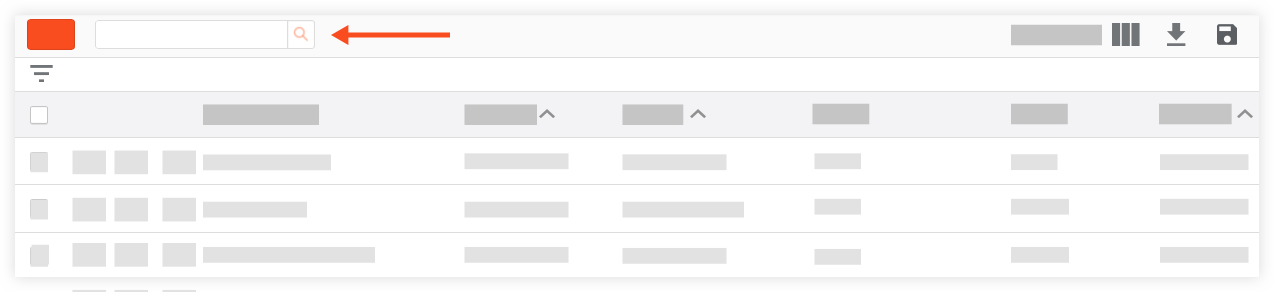
- Enter a project name or project number in the Search Requests box. Then click the magnifying glass icon or press the ENTER/RETURN key on your keyboard to initiate your search.
Sort Workforce Requests
Complete the steps below to sort the items in the Workforce Request List.
- Navigate to the Company level Workforce Planning tool.
- Click Requests and select Requests List.
- Click the caret
 icon next to the name of the header by which you want to sort. Click the caret icon again to switch between ascending and descending sort orders.
Note: You can update your view to see additional columns. See View the Workforce Request List.
Note: Only columns with the caret icon are available for sorting.
Filter Workforce Requests
Complete the steps below filter the items in the Workforce Request List.
- Navigate to the Company level Workforce Planning tool.
- Click Requests and select Requests List.
- Click the filter
 icon.
icon. - Click Matches to filter by details that match your filter or click Doesn't Match to show requests that do NOT match the filter.
- Select to filter by:
- Created By. Select this to filter by the user that created the request, then select the person who created the request.
- Ending. Select this to filter by requests that end On or Before, On or On or After a designated date, then select the date.
- Project. Select this to filter by requests for a specific project, then select the project.
- Project Status. Select this to filter by project status, then select the project status.
- Request Status. Select this to filter by request status, then select the request status. See Configure Assignment and Request Statuses for Workforce Planning.
- Starting. Select this to filter by requests that start On or Before, On or On or After a designated date, then select the date.
- Tags. Select this to filter tags that have been configured for requests. See Configure Tags for Workforce Planning.
Tip
To apply AND logic to your tag filters, mark all the tickboxes for your filter selection.- For example, if wanting to see people with both Tag A and Tag B:
- Click the filter icon.
- Click Matches.
- Select to filter by Tag.
- Mark the tickboxes for Tag A and Tag B.
- Click the tick
 to apply the filter(s).
- Click the filter
- For example, if wanting to see Users OR Assignable Users:
- Click the filter icon.
- Click Matches.
- Select to filter by Tag.
- Mark the tickbox for Tag A.
- Click the tick in the modal.
- Click the filter icon.
- Click Matches.
- Select to filter by Tag.
- Mark the tickbox or Tag B.
- Click the tick in the modal.
- Click the tick to apply the filter(s).
- Click the filter
- For example, if wanting to see people with both Tag A and Tag B:
- [Custom Fields]. Custom fields that are created for requests and are filterable appear at the end of the list.
Note: To filter on a custom field, the Enable Use as Filter tickbox must be marked in the custom field's configuration. See Configure Custom Fields for Workforce Planning.
- Click the tick to apply the filter(s).
- If you want to clear filters that you have applied, click the 'x' next to the filter, then click the tick to clear the filter(s).
- If you want to clear additional filters and revert back to default filters, click the rubbish can
 icon.
icon.