Configure Advanced Settings: Emails
Objective
To configure advanced settings for the project's Emails tool.
Things to Consider
- Required User Permissions:
- 'Admin' level permissions on the project's Emails tool.
- Restrictions:
- When configuring user permissions as described in Set User Permissions for the Emails Tool below, you are not permitted to change settings for users associated with a permission template. Instead, see Manage Project Permissions Templates.
- For a list of what users can do at each permission level in Emails, see the Permissions Matrix.
- Additional Information:
- If a user with 'Admin' level permission to the project's Emails tool creates a 'Default Distribution' list using the steps below, the members of that list will receive all messages that have been created in and sent from your project's Emails tool or sent to the Emails tool via the inbound email address. This includes messages marked 'Private'.
Steps
You can use the steps below to configure the following advanced settings for the Emails tool:
Configure the Email Tool's Settings
- Navigate to the project's Emails tool.
This reveals the Emails page. - Click the Configure Settings
 icon.
icon.
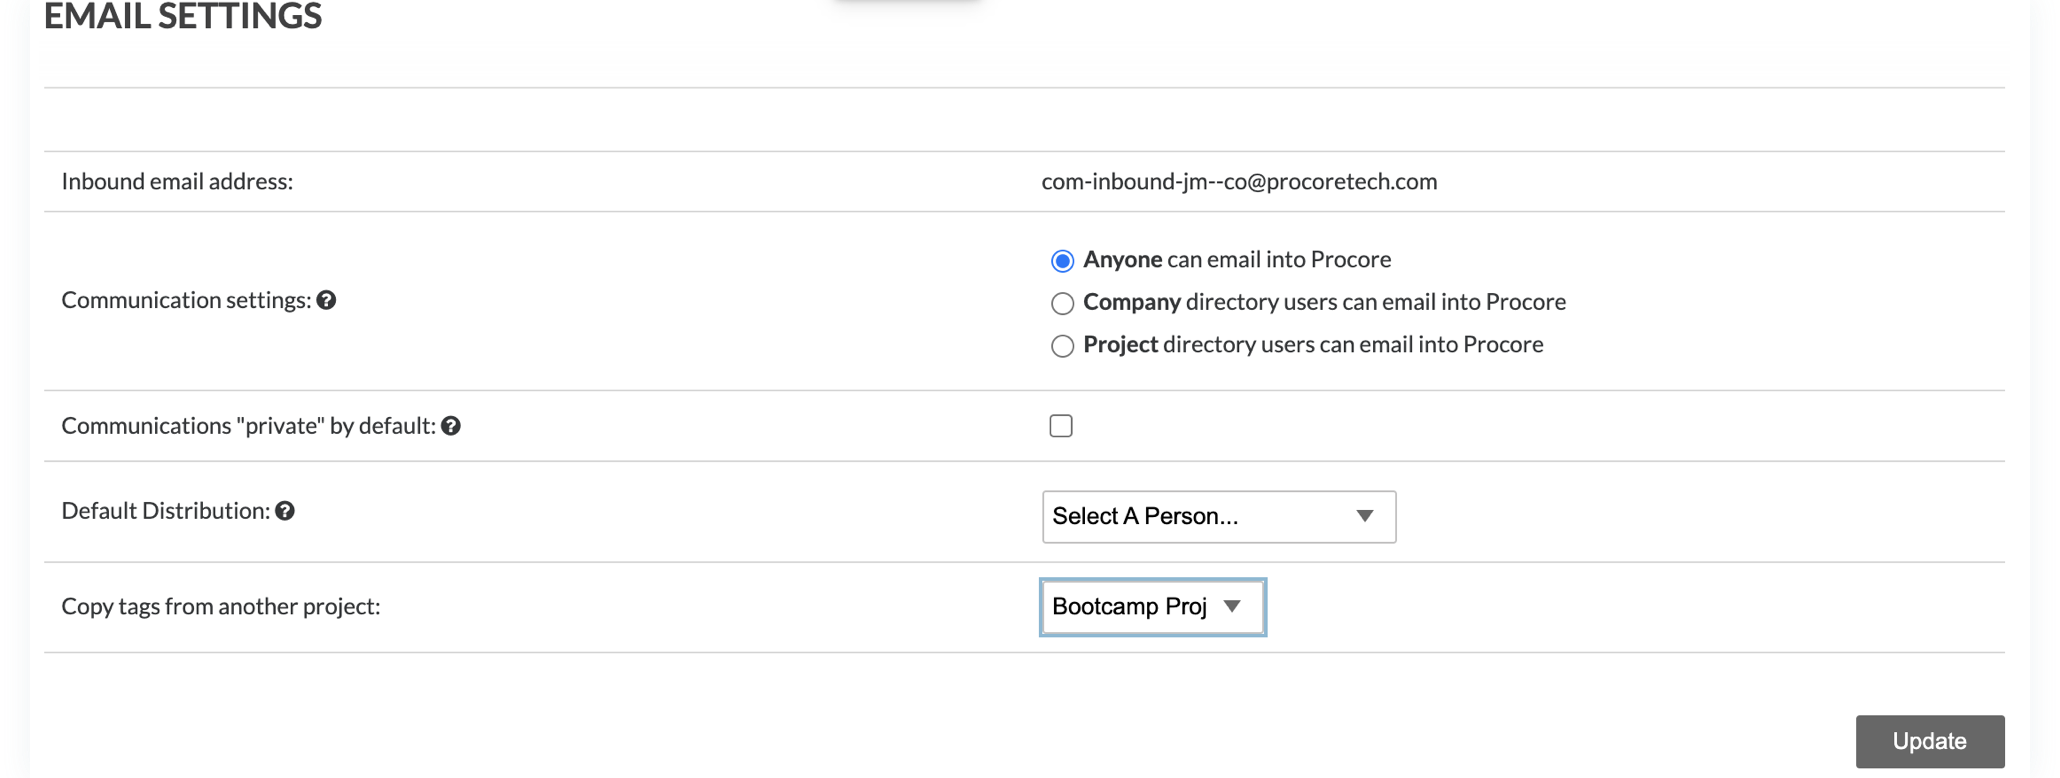
This reveals the 'Email Settings' page.

- Complete the following data entry:
-
Click Update.
This saves your configuration settings.
Set User Permissions for the Emails Tool
- Navigate to the project's Emails tool.
- Click the Configure Settings
 icon.
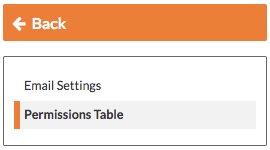
icon. - In the right pane, click Permissions Table.

- Choose from these options:
- If a user is NOT associated with a permission template, you may change their permission for the Emails tool by clicking the None, Ready Only, Standard or Admin column until one of these symbols appears:
 Access. A GREEN tick indicates the user has been granted access permission.
  No Access. A RED tick indicates the user has NOT been granted access permission.

- Notes:
- If a user has 'Admin' level permission to the Company Directory, you cannot modify that users access permission from the emails tool.

- If a user is associated with a permission template, you may not modify that user's access permission from the Emails tool. See Manage Project Permissions Templates.

- If a user has 'Admin' level permission to the Company Directory, you cannot modify that users access permission from the emails tool.
- If a user is NOT associated with a permission template, you may change their permission for the Emails tool by clicking the None, Ready Only, Standard or Admin column until one of these symbols appears:
- When finished, click Back to return to the Emails tool.
Your user permission changes will be saved automatically.

