Create a Record for a Payment Received
For Procore Customers in the United States
 When your company applies the 'Owners English' or 'Specialty Contractors English' point-of-view dictionary, you'll see different tool names and term changes in the user interface. Learn how to apply the dictionary options.
- To learn the differences: Show/Hide
Objective
To create a payment received record for an owner payment application.
Background
An owner payment application is an itemized record of a financial transaction between a project owner and a company responsible for completing work. Typically, it is issued by a main contractor and submitted to a project owner to signal that payment is due for completed work. When you receive a payment from an owner, you can create a record of that payment in Procore's Payment applications tool using the steps below.
Things to Consider
Prerequisites
- The project's main contract must be in the 'Approved' or 'Complete' status. See Approve a Main Contract.
- Create the payment application that you sent to the owner. See Create Main Contract Payment Applications.
Steps
- Navigate to the project's Invoicing tool.
- Click the Owner tab.
- Locate the owner payment application in the list. The click to open it.
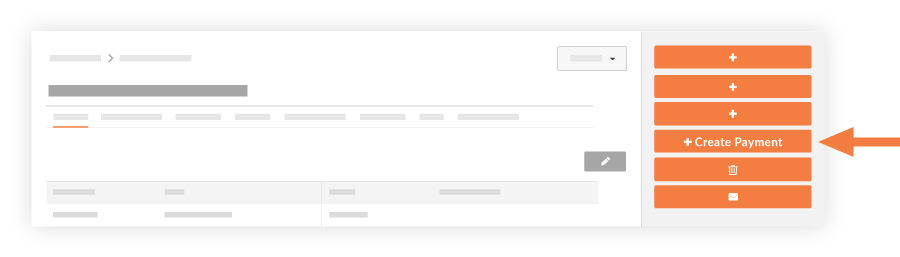
- Click Create Payment.
- Complete the following fields:
- Payment Application. Select the associated payment application from the drop-down list.
- Date. Select a date that the payment was received.
- Payment #. Enter the payment number.
- Payment Application #. Enter the payment application number for the payment, if applicable.
- Check #: Enter the check number for the payment.
- Notes. Include any additional notes to provide details about the payment.
- Amount. Enter the amount of the payment received.
- Attachments. Include any attachments related to the payment. For example, you might want to attach the check image or the payment application file.
- Click Add. The payment is listed under the 'Contract Summary Report' section in the 'Payments Received' column.

- Click Save.
Notes
- You will see a list of all payments received, which you can then export to a PDF by choosing Export > PDF.
- All payments received on the project are tracked in the Contract Summary Report in the Main Contract tool's General tab (see illustration below).
If you would like to learn more about Procore's invoice management software and how it can help your business, please visit our construction invoice management software product page  .
.