Create Main Contract Payment Applications (Beta)
Procore Internal ONLY
This page details the modernised experience for main contract payment applications. For customers still using the legacy experience, see Create an Owner Payment application (Legacy).
Objective
To generate an owner payment application to bill an upstream collaborator for work on a main contract.
Background
When managing your construction project in Procore, you can generate an owner payment application to bill an upstream collaborator on a main contract. Then, submit the owner payment application.
Things to Consider
- Required User Permissions:
- To Create Main Contract Payment Applications, 'Admin' level permissions on the project's Main Contracts tool.
- Additional Information:
- By default, new payment applications automatically reflect approved budget changes.
- You can configure Procore to add approved budget changes and variations to main contract payment applications created before their approval. See About Budget Changes on Main Contract Payment Applications.
Prerequisites
- Create Main Contracts
- Approve Main Contracts
- Create a Billing Period. See Manage Billing Periods.
Steps
- Navigate to the project's Main Contracts tool.
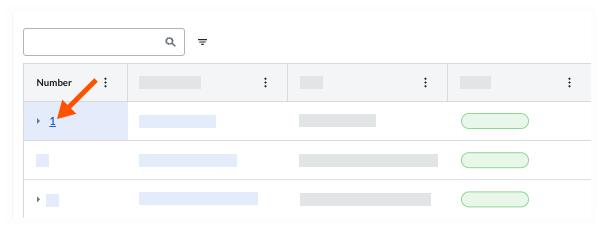
- Find the contract for which you want to generate a payment application.
- In the Number column, click the link to open it.
- In the contract, click the Payment applications tab.

- Click + Create and choose Create Payment application from the drop-down menu.
Tip
Is the menu option greyed out? To activate this option, place the contract into the Approved or Complete status.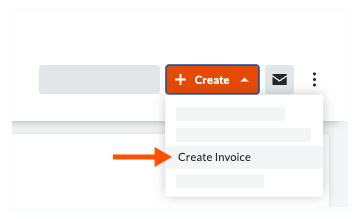
This opens the 'New Payment application for [Contract]' page. - In the Create Payment application card, do the following:

Note
An asterisk (*) below indicates the field is required.- Payment application No.*
Enter a payment application number. - Billing Period
Procore selects the open billing period's date range or, if no open period, the most recent period's date range.Tip
How do you create a billing period? Only an payment application administrator can create billing periods with the Payment applications tool. See Create Billing Periods.
- Payment application No.*
- Choose the prefill settings to populate the new payment application.
- Mark a tickbox to turn the setting ON.
OR - Remove a mark from a tickbox to turn the setting OFF.
Tip
Want to save time and improve data entry efficiency? Procore can populate an owner payment application with financial data from eligible subcontractor payment applications, direct costs and commitment variations. For details, see How does Procore automatically complete amounts on an owner payment application?
- Mark a tickbox to turn the setting ON.
- Click Create.
Procore creates the payment application. Continue with the next step.