Configure Advanced Settings: Project Programme
Configure Advanced Settings: Project Programme
Objective
To set advanced preferences for the Project level Programme tool in Procore.
Things to Consider
- Required User Permissions:
- 'Admin' level permissions on the project's Programme tool.
Note: To view or edit information on the User Permissions page for the Programme tool, 'Admin' permission to the project's Directory tool is also required.
- 'Admin' level permissions on the project's Programme tool.
- Additional Information:
- The latest date and time that a programme was uploaded or updated will be displayed in the header of every page in the Programme tool's settings page next to 'Last Modified'.
Steps
- Navigate to the project's Programme tool.
- Click the Configure Settings
 icon.
icon. - Click one of the following pages:
- General
- File Management
- Email Distribution
- User Permissions
Note: This page is only available to users with 'Admin' permission to the project's Directory tool.
General
functionality
- Enable Calendar Item Creation: Mark the tickbox if you would like users with 'Standard' level permissions or above to create calendar items in addition to the integrated programme. These calendar items can be published and visible to everyone on the team or personal and only visible to the person creating them. See Create a Calendar Item.
Project Tasks
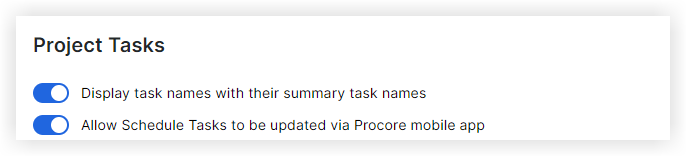
- Display task names with their summary task names: Mark or remove the mark from this tickbox to change how each programme task is displayed in the Programme tool.
- Allow programme tasks to be updated via the Procore mobile app: Mark the tickbox to enable programme tasks to be updated from a mobile device using the Procore mobile app.
File Management
Email Distribution
Project programme email
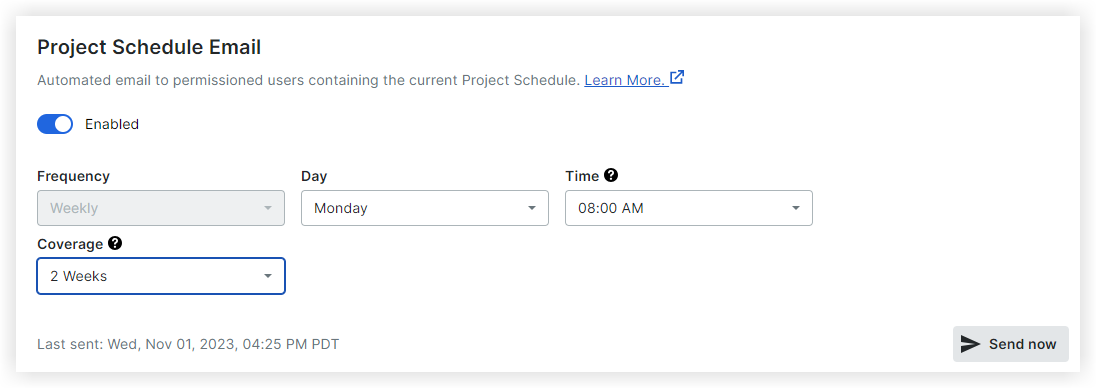
- Use the toggle on
 icon to send weekly emails to specific users showing all upcoming programme tasks on the project programme.
 - Select the Day and Time that data will be sent each week.
Timezone is based on project location. - Select the Coverage amount.
Coverage determines the number of upcoming weeks of programme data to include within your email. - Optional: If you want to send the weekly project programme immediately, click Send Now.
Resource Programme email
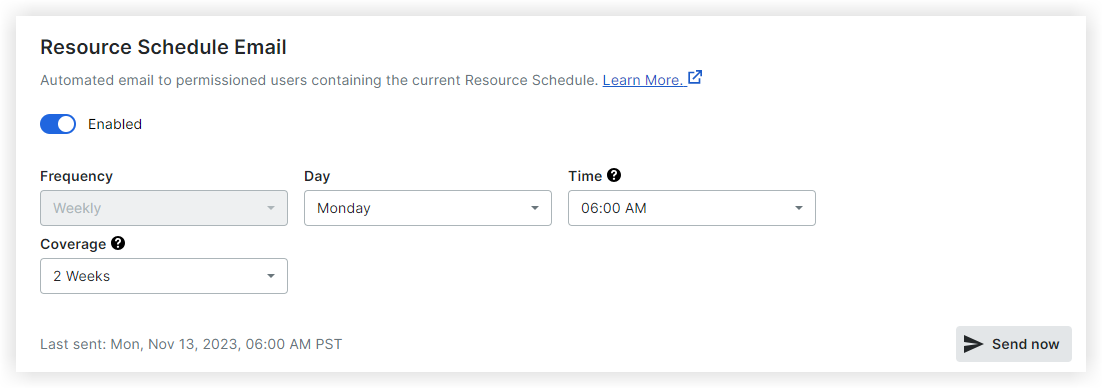
- Use the toggle on icon to send weekly emails to specific users showing all upcoming programme tasks on the resource programme.
- Choose the Day and Time data that will be sent each week.
Timezone is based on project location. - Select the Coverage amount.
Coverage determines the number of upcoming weeks of programme data to include within your email. - Optional: If you want to send the Weekly Resource Programme email immediately, click Send Now.
lookahead programme email
- Use the toggle on icon to send weekly emails to specific users showing all upcoming programme tasks on the lookahead programme.
- Choose the Day and Time data that will be sent each week.
Note: Timezone is based on project location. - Optional: If you want to send the Weekly Lookahead Email immediately, click Send Now.
User Permissions
Important! The following action requires 'Admin' permission to the project's Directory tool.
- Click User Permissions.
- Choose each user's permission for the Programme tool from the Permissions menu.
Note: You cannot modify the permissions for users with a permission template applied. - Choose which resource the user is associated with from the Resource menu.
- Select which, if any, weekly emails they will receive from the Email Permissions menu.
Note: Edit when and how often these emails are sent from the Email Distribution page. - For a list of what users can do at each permission level in the Programme, see the Permissions Matrix.
- Use the table filter
 and the ellipsis
 icon for table configuration and column adjustments.

If you would like to learn more about Procore's scheduling software and how it can help your business, please visit our construction scheduling software product page  .
.