Create a Co-ordination Issue in the Model Viewer
Objective
To create a co-ordination issue from the side panel of the model viewer.
Background
When you notice a co-ordination issue while viewing a model in Procore, you can create an issue directly from the Issues side panel without needing to navigate to the Co-ordination Issues tool. Your current view of the model is automatically added as a snapshot and the new co-ordination issue can be viewed and opened from the side panel or Co-ordination Issues tool.
Things to Consider
- Required User Permissions:
- 'Read Only' or higher level permissions on the project's Models tool.
AND - ‘Standard’ or 'Admin' level permissions on the project's Co-ordination Issues tool.
- 'Read Only' or higher level permissions on the project's Models tool.
Steps
- Navigate to the project's Models tool on app.procore.com.
- Click the model you want to open.
- Navigate to the area that you want to create a co-ordination issue from. See View a Model for tips navigating the model.
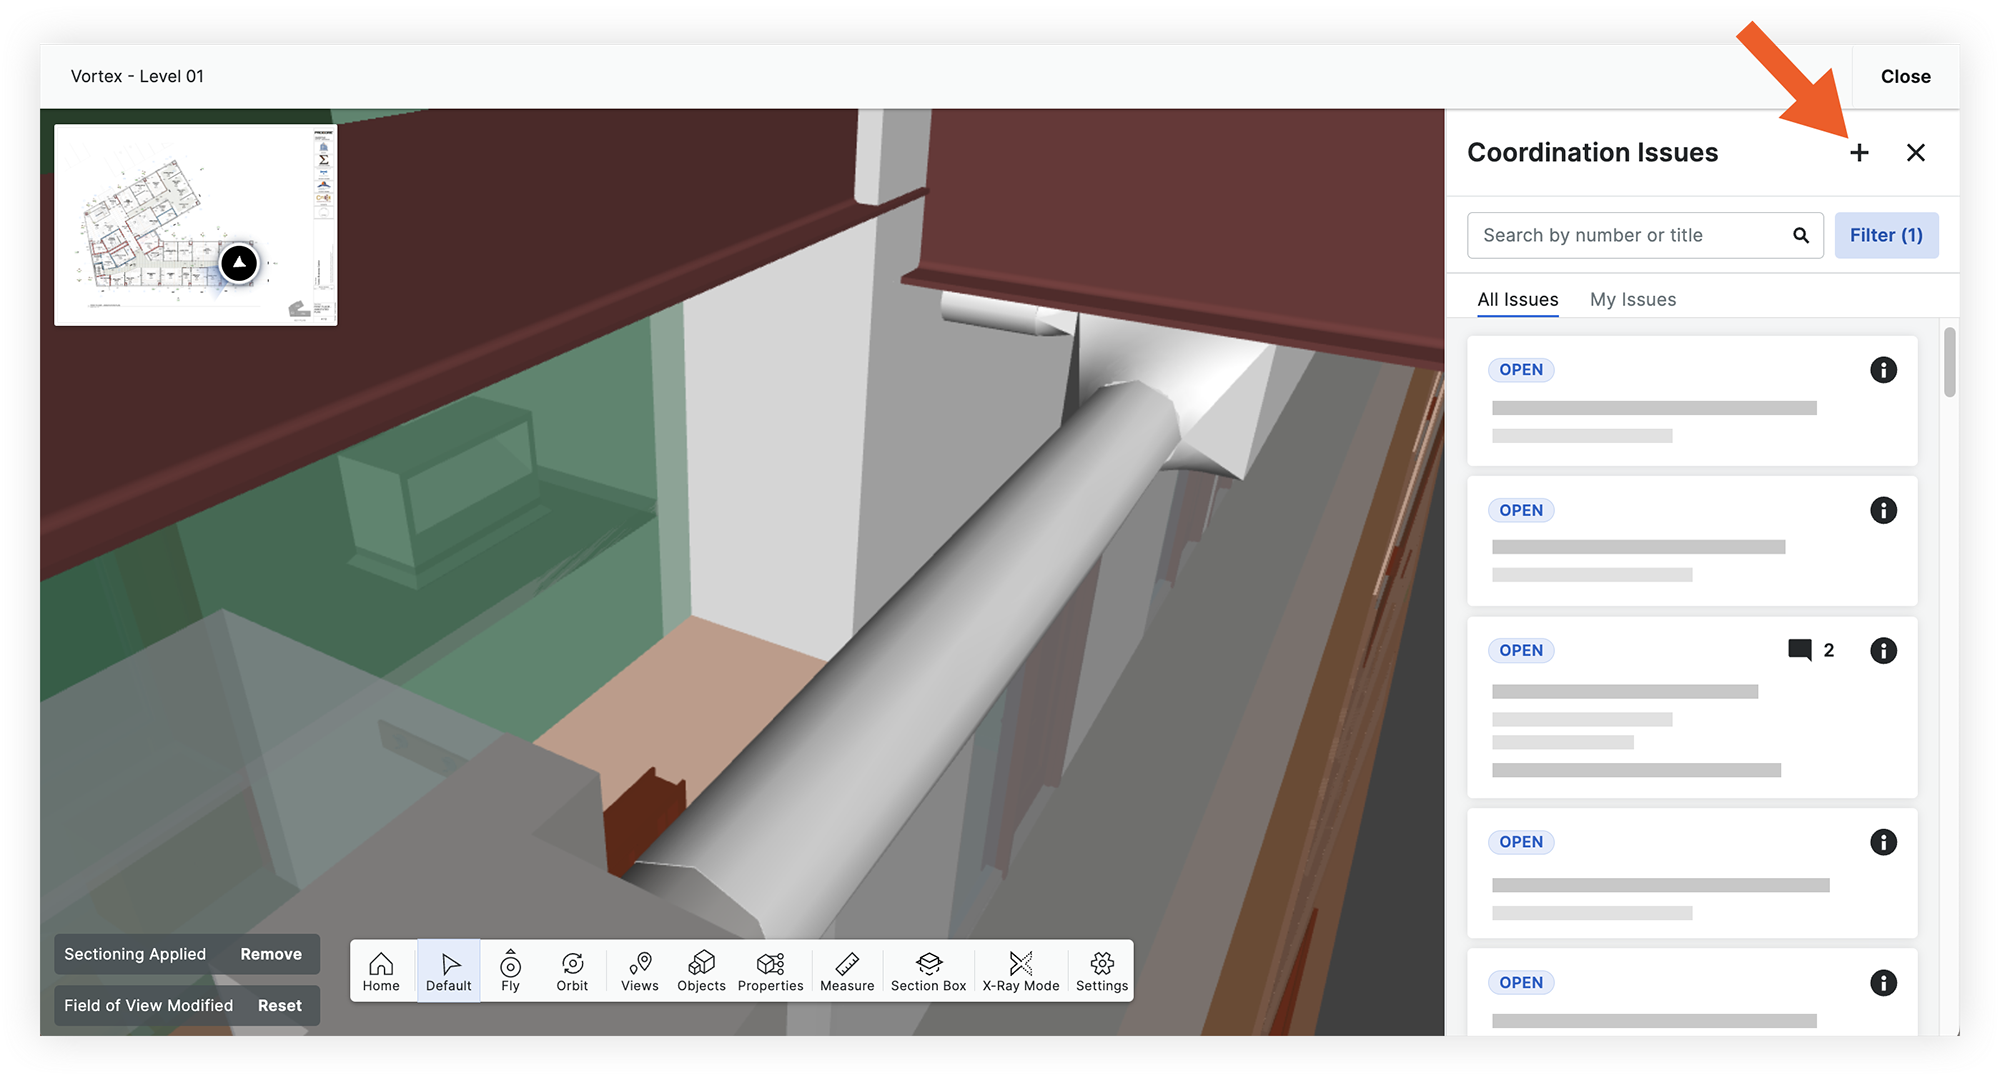
Note: The snapshot of your current view will be added to the issue, but you can click Update Snapshot later if you need to change it. - Click the Issues
 icon to open the Co-ordination Issues side panel.
 - Click the Create
 icon.
icon.
- Fill in the following fields:
Note: Fields with an asterisk (*) are required. Available fields can vary depending on how fieldsets have been configured for the project. See What are configurable fieldsets and which Procore tools support them?- Title*: Enter a title for the coordination issue. This will be the first reference that collaborators will see when reviewing this issue.
- Description: Enter a description that describes the issue.
- Location: Click the drop-down menu to select the location of the issue.
Note: New locations can be added to the project through the Admin tool. See Add Tiered Locations to a Project. - Due Date: Click to select a due date for the issue on the calendar.
- Priority: Click the drop-down menu to select a priority level for the issue.
- Assignee: Click the drop-down menu to select the person who is responsible for resolving the issue.
Note: This person will need 'Standard' or 'Admin' permissions on the Co-ordination Issues tool to be selected as an assignee. - Trade: Click the drop-down menu to select the relevant trade for the issue.
Note: Trades are managed in the Company level Admin tool. See Add a Custom Trade. - Type: Click the drop-down menu to select a type for the issue.
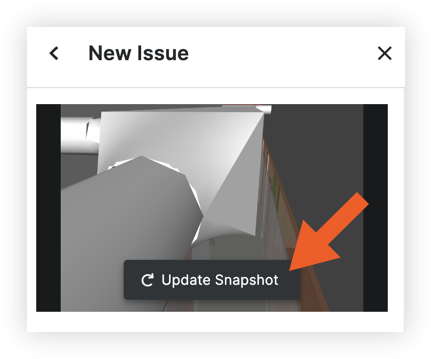
- If you need to update the snapshot for the issue, hover over the image in the side panel and click Update Snapshot.
- When you're ready to save the issue, click Create.
The issue is created and added to the Co-ordination Issues tool.