Update and Set Up DocuSign® on a MC/Client Payment application with the Progress Billings Tool
Limited Release
 The Progress Billings tool is only available to Procore customers in the United States who have implemented the Procore for Speciality Contractors point-of-view dictionary. To learn more, see (Limited Release) Owners & Speciality Contractors Point-of-View Dictionary Options.
 Objective
To update and set up DocuSign® on a MC/Client payment application with the Progress Billings tool.
Background
If you have a DocuSign® account, you are able to track the status of a signed document in Procore.
Things to Consider
Prerequisites
Steps
- Navigate to the project's Progress Billings tool.
- Under the Owner tab, select the main contract that you want to work with.
- Click the Payment Applications tab.
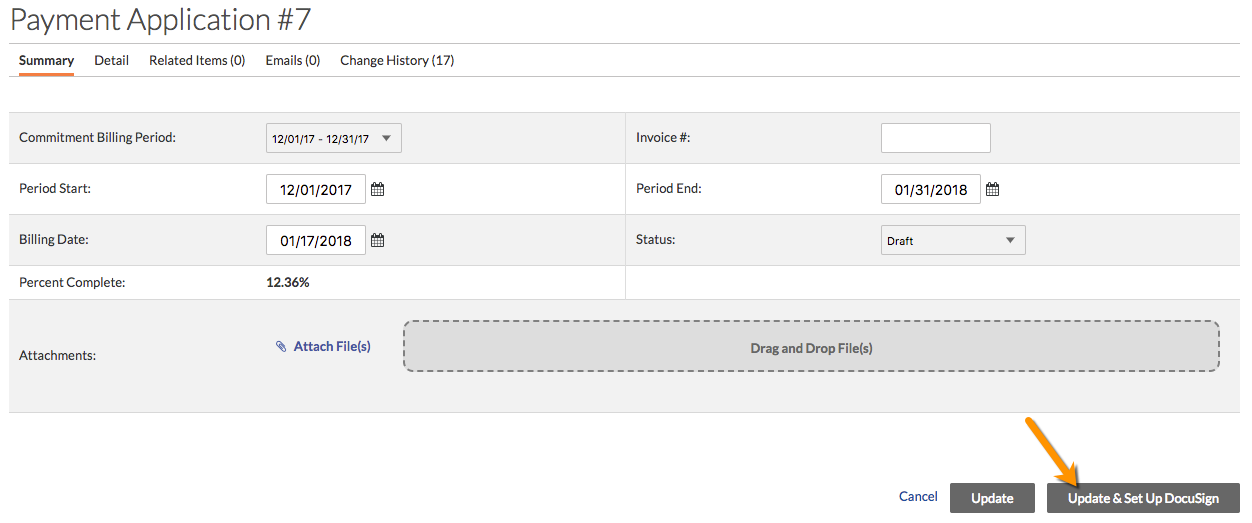
- Click Edit next to the Payment application you want to update to use DocuSign® with.
- Click the Update and Set Up DocuSign button.
- If you have not logged into DocuSign® from Procore before, complete the following steps:
- Enter your DocuSign® email address.
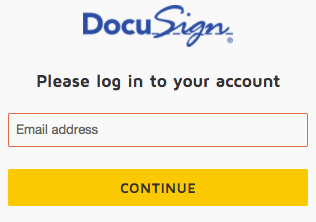
- Click Continue.
- Enter your password.
- Click Log In.
- Enter your DocuSign® email address.
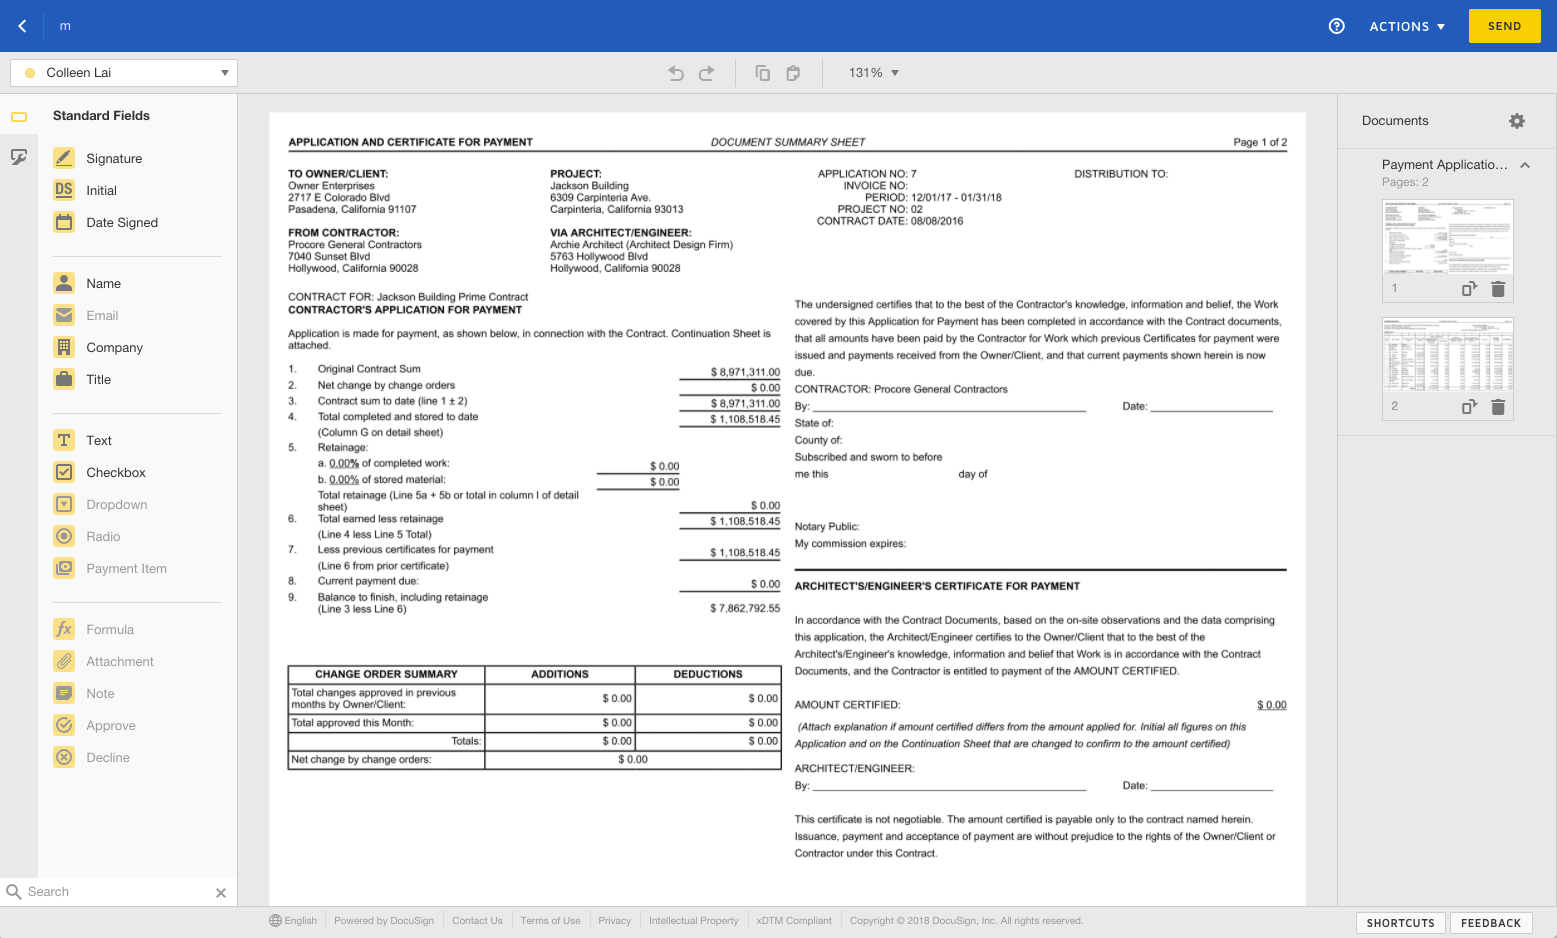
- Once you are in DocuSign®, Procore's contract PDF will pre-populate as a document in DocuSign® or you can choose to add your own document.
- Upload documents by choosing one of these options:
- Upload
- Use a Template
- Get From Cloud
- If you are not using a custom form, DocuSign® automatically completes the recipients for you. If you choose to use these recipients, DocuSign® also places the signing tags in the correct position.
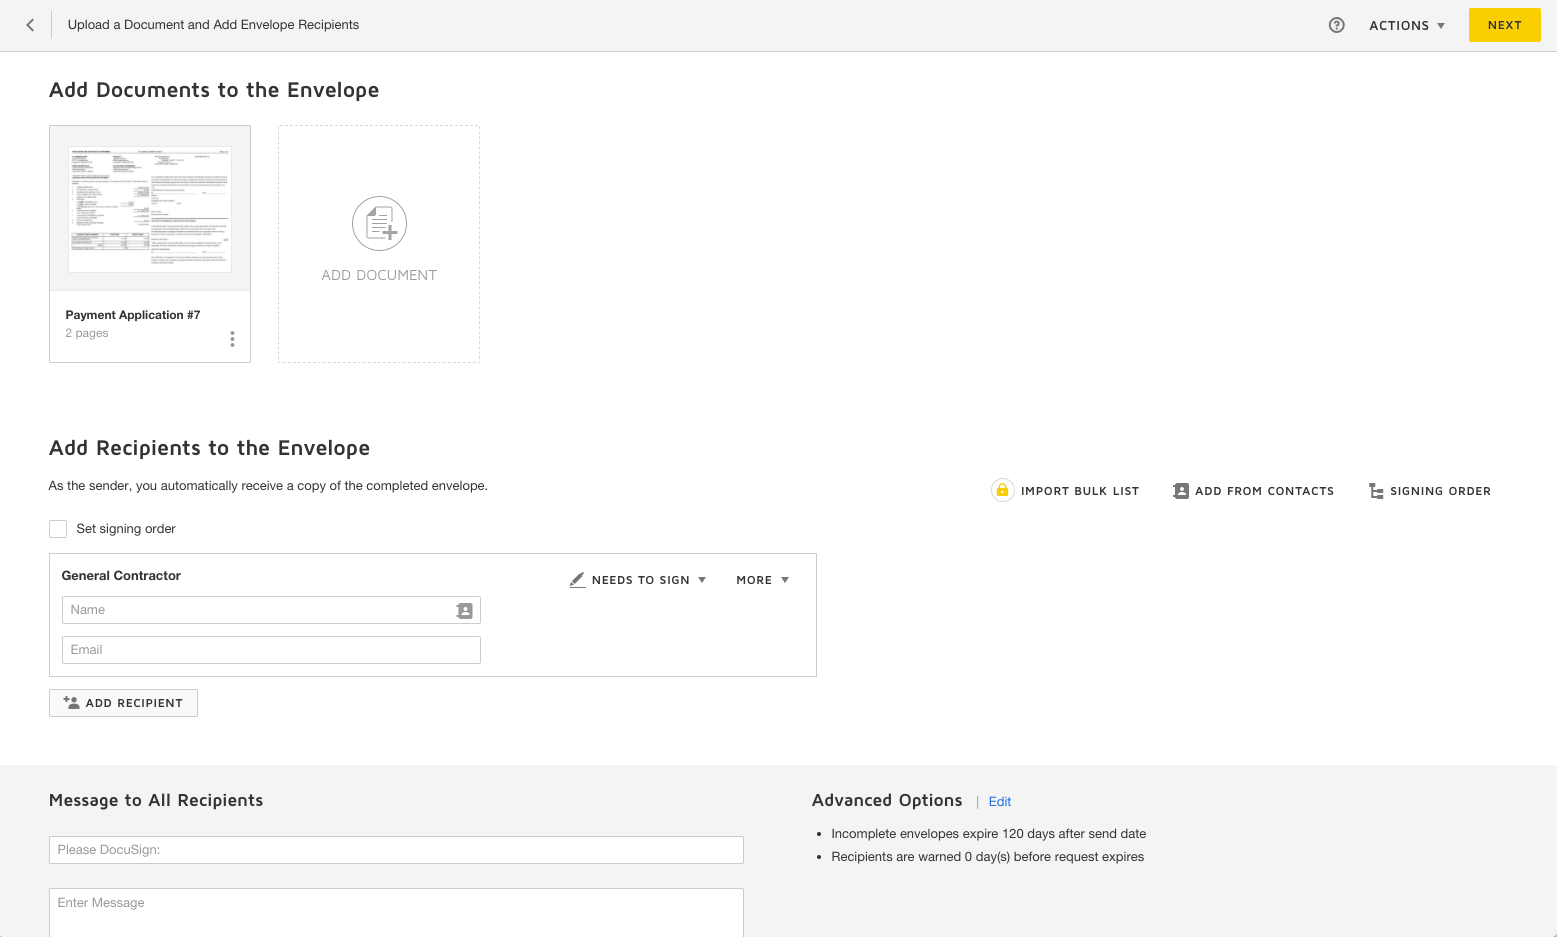
- Click Send to send the document for signature.