Create a Permission Group for the Document Management Tool
Objective
How to create a permission group for the Document Management tool.
Background
Things to Consider
- Required User Permissions:
- 'Admin' level permissions to the project's Document Management tool.
- Additional Information:
- If a user is added to more than one permission group, the highest level permissions are respected. For example, if a user exists in a permission group that has the ability to 'Upload New Files', but is added to a different group without permission to upload, they can still upload files to the tool.
Video
Steps
- Navigate to the project's Document Management tool.
- Click the Configure Settings
 icon.
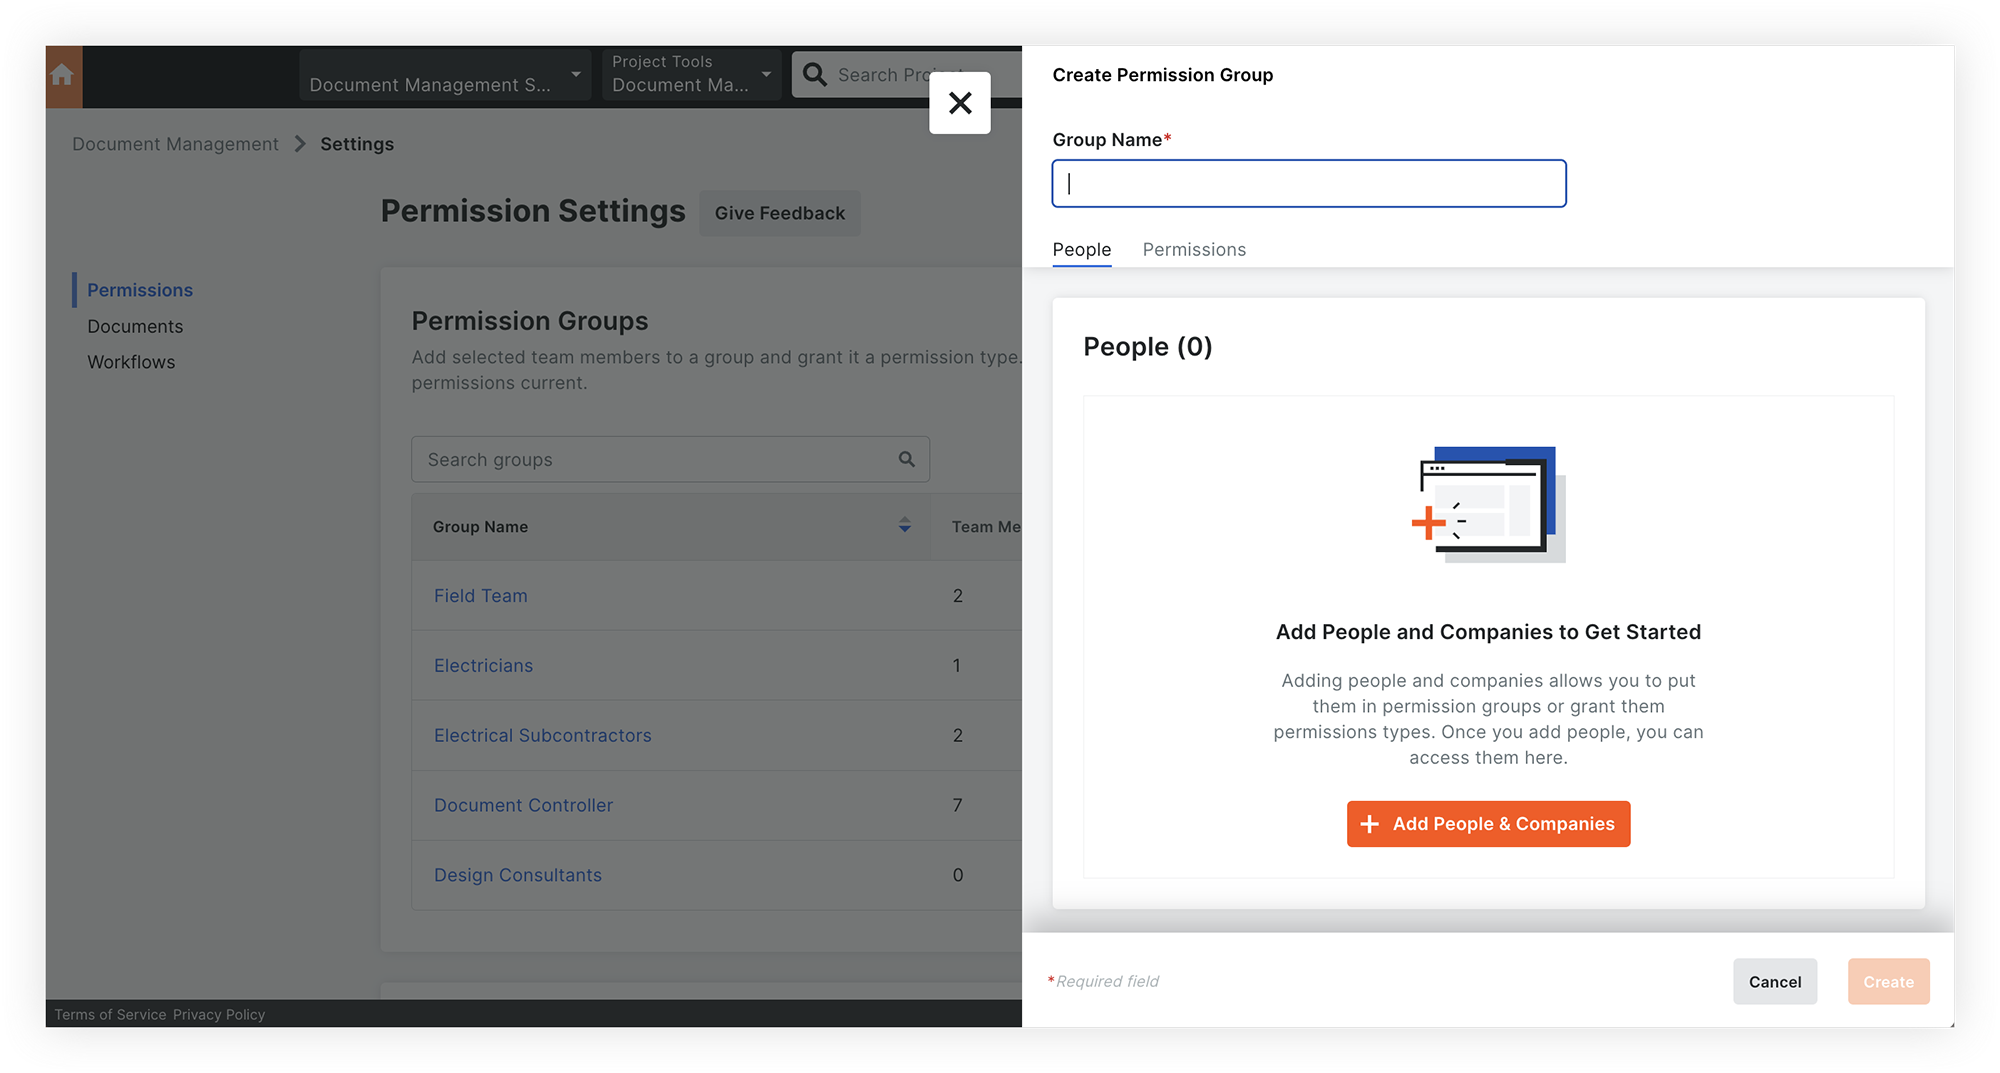
icon. - On the Permissions tab, click Create Group.
- Enter a name in the Group Name field.
- Follow the remaining steps below to configure the permission group:
Add People and Companies
- Click the People tab.
- Click Add People and Companies.
- Mark the tickbox next to each user and company that you want to add to the group. If you want to add all project users, mark the tickbox at the top of the list.
- Click Add to confirm.
- Optional: If you need to edit the users or companies, click Edit People.
Grant Upload and Document Permissions
- Click the Permissions tab.
- In the 'Upload Permissions' section, mark or clear the tickbox to determine whether this group should have permission to upload and submit files to the tool:
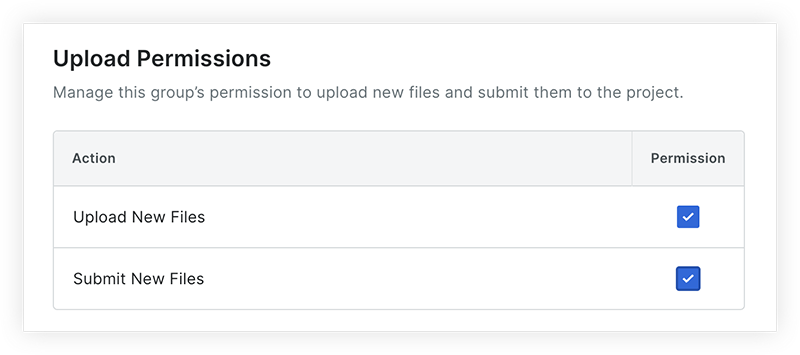
- Upload New Files: Allows users to upload files to the tool and complete information. See Upload Documents and Complete Information for Documents.
Note: If the 'Upload New Files' permission is disabled, the 'Submit New Files' permission is automatically disabled. - Submit New Files: Allows users to submit completed documents to the project. See Submit Documents.
- Upload New Files: Allows users to upload files to the tool and complete information. See Upload Documents and Complete Information for Documents.
- In the 'Document Permissions' section, click Grant Permissions.

- Under 'Select Permission Type', choose one of the following permission types:
Note: The actions available for these permission types can be customised in the 'Document Settings' section of the Configure Settings page. See Configure Settings: Document Management.- Admin
- Owner
- Viewer
- Under 'Select Documents', choose whether this group should have access to all documents or only certain documents:
Note: The level of access will depend on the permission level selected above ('Admin', 'Owner' or 'Viewer').- Click All Documents to allow users in this group to access all documents in the project.
OR - Click Only Documents with Selected Attributes to only allow them access to documents with specific attribute (field) values.
- Click the Add Attribute Set button.
- Click Select Attributes to choose one attribute (field) that is relevant for controlling access for this group.
Note: You can select a custom field (attribute) if it's one of the following field types: company, location or single select (dropdown). - Click the 'includes any of' menu to select one or more values for the attribute selected above.
Note: If any of your selected values apply to a document, the document will show in each group members' Document Management tool. A document does not need all the selected values in order to be available to a group member. - If you want to add additional attribute sets, repeat these steps.
- Click All Documents to allow users in this group to access all documents in the project.
- To save the selected permissions, click Submit.
- When you are ready to save the new permission group, click Create.